More details below
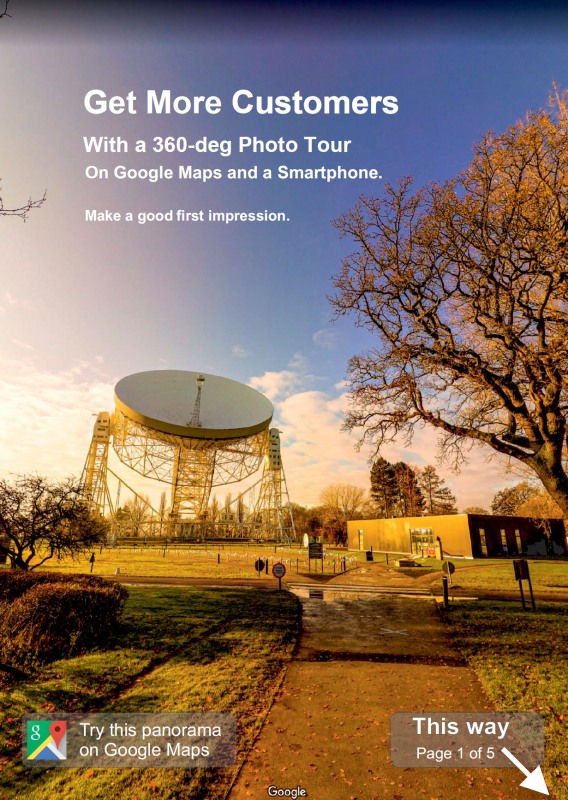
You too could have a 360-deg virtual reality tour that looks amazing and engages your customers.
Drag the image to look around, tap the arrows to move, zoom in for detail.
Virtual Tours of your Business
Why are 360-deg photos and virtual tours so important?
- FACT: They look amazing
- FACT: They engage customers by letting them control the tour
- FACT: They are available instantly 24/7
- FACT: They can be shared easily
A 360-degree virtual tour gives your potential customers a chance to look around your business using their PC or a smartphone, and, Google Maps Street View. Have a look at some examples:
- 360 Photo Gallery page (single images)
- Virtual Tours Gallery page (multiple connected images)
Why you should get a 360-deg Virtual Tour?
- Showcase what you sell or do, 24 hours a day.
- Reveal the wider range of products and services you offer. More than just a photo.
- Transparency: Show that you have nothing to hide.
- Engage your customers by satisfying their curiosity.
- Circumvent health and safety: Let people see what’s going on without needing a hard hat.
- Document/Archive/Survey: Provide an illustrated record
- Familiarisation, so people feel that they are there.
- More than just a map
- See also: “Local Searches and Google Maps: The benefits“
How do I make your 360-deg Virtual Tour?
- I visit your business
- I take photos using my 360-degree camera.
- Off site, I check, and if necessary, edit the GPS location and quality of every image
- I orientate, level, and connect the images together into a tour
- To ensure privacy, I will blur any faces and car licence plates, and other personal information.
- I upload the images and tour details to the hosting server
- After 24-48 hours, the virtual tour is available to anyone. You do not need any special software.
- The tour can be embedded on your website (such as the example above)̣ Details here.
- You can also host your virtual tour on your web site, in your content management system (WordPress, Drupal and Joomla), and a single 360-deg panorama can be uploaded to Facebooḳ
Best practices
- It is best to visit your business when visitor numbers are low, as we’d want to take a photo with no-one else in the room
- Tidy your rooms before we arrive!
- Rooms should be well lit.
- Photos are generally taken with a camera on a tripod, and a remote (so we can get out of shot)
- Photos are taken 1-10m apart. Photos that are 3 metres apart are a good spacing. You can have less, or more.
Technical information
- Camera used: XPhase Pro S, which uses 25 lenses to make 100 megapixels (14000 x 7000) images
- In order to get the photos to connect properly, photos are taken about 3-10 metres apart, and inside photos about 1 metre apart. But we have been successful with images that are 10m apart
- A shoot takes about five minutes per photo. It might take longer if there are lots of people around, it might be quicker if everything works first time.
- I won’t do an outdoor shoot if
- It is raining, as there will be raindrops on the lens that distort the images, and your business won’t look as good as it could be
- It is too windy; the tripod can blow over or wobble too much.
- Post editing of the images (I mainly use Adobe Lightroom and Adobe Photoshop) takes up to four times as much time again, and may include:
- Reducing the light level of over-exposured highlights
- Boosting the light levels of shadows
- Tweaking the white, black, colours, and overall exposure
- Increasing the colour temperature for warmth
- Checking that the seams between the image from different lenses have not produced a visible seam
- Checking and blurring out inappropriate imagery (eg. license plates, faces of the public, anything that may be considered offensive)
- Pano2VR software enables the creation of your virtual tour, including:
- Checking that the horizon of each image is levelled correctly
- Checking that the location of each image is correct
- Specifying links between image panoramas
- Associating your virtual tour with your business
- Optionally adding descriptive labels (eg. kitchen department)
- Optionally adding floor levels (eg. Ground floor, first floor)
- Uploading your virtual tour
- Once your tour has been uploaded, it typically takes 24-48 hours before your image appears, and a further 24 hours before the links start working. It has been known to take a few hours, or a week or so.
- After you have viewed your tour, I am happy to make some minor corrections (eg. a face that has not been blurred)
- If in doubt, ask!
Virtual Tour Main Features
| Image resolution: High-resolution images enable you to zoom in a see more detail |
100 Mega-pixels (14,000 x 7,000) |
| Platform: Viewable on PCs, smartphones and tablets from anywhere in the world with an Internet connection. |
Google Maps |
| Flash software: Some virtual tours require Adobe Flash. The software is being discontinued at the end of 2020 (reference), and our virtual tours do not require it. |
Not required |
Comparison with other media
| Photos | Video | 360-deg Virtual Tour | |
| User control (Interactivity) |
None |
|
|
| User engagement | A little | Some | Yes |
| Cost | Low | High | Medium |
Costs
| Description | Cost |
| 360-deg virtual tour |
|
| Travelling time 30 mins free travel per 10 image |
£20 per 30 minutes |
| Hosting charges | About £1 per image per month |
These are one-off charges. There is no subscription, re-occuring or additional costs.
 Google Street View Trusted Photographer . |
 Local Guide – Level 9 Over 195 million views Over 73,000 points |